How to Cook Hot Dogs Perfectly Every Time

The humble hot dog. It's a quintessential American food, often enjoyed at barbecues, sporting events, and casual gatherings. But achieving hot dog perfection requires more than just slapping it on a bun. The key is understanding the nuances of different cooking methods to unlock the optimal flavor and texture. Whether you prefer a snappy, grilled dog or a plump, juicy boiled one, mastering these techniques will elevate your hot dog game.
This guide explores multiple cooking methods, offering expert insights and pro tips to guarantee perfectly cooked hot dogs every time. We'll delve into the specifics of boiling, grilling, pan-frying, microwaving, air-frying, and even oven-roasting, ensuring you have the knowledge to prepare a delicious hot dog regardless of your equipment or preference. Let's dive in!
Understanding Hot Dogs
Navigating the world of hot dogs can be surprisingly complex. From all-beef franks to chicken and pork variations, understanding the distinctions is crucial for achieving your desired flavor and texture. The ingredients and quality significantly impact the final result. Premium hot dogs typically contain higher meat content and fewer fillers, resulting in a more satisfying and flavorful experience.
When selecting hot dogs, consider these factors:
- Meat Type: All-beef hot dogs offer a robust, savory flavor, while pork and chicken varieties tend to be milder.
- Casing: Natural casings provide a characteristic "snap" when you bite into the hot dog, while skinless options have a softer texture.
- Ingredients: Look for hot dogs with a short list of recognizable ingredients and minimal preservatives.
Why Cook Hot Dogs This Way?
- Versatility: Hot dogs are incredibly versatile and can be cooked using various methods, making them suitable for any kitchen setup.
- Flavor: Different cooking methods impart distinct flavors, from the smoky char of grilling to the juicy tenderness of boiling.
- Convenience: Hot dogs cook quickly and require minimal preparation, making them a perfect option for a quick and easy meal.
Preparation (Mise en Place)
Before diving into the cooking process, a little preparation ensures a smoother and more enjoyable experience. Here’s what you need to do:
- Thawing (if frozen): If your hot dogs are frozen, thaw them in the refrigerator overnight for best results. For a faster thaw, place them in a sealed bag in a bowl of cold water, changing the water every 30 minutes.
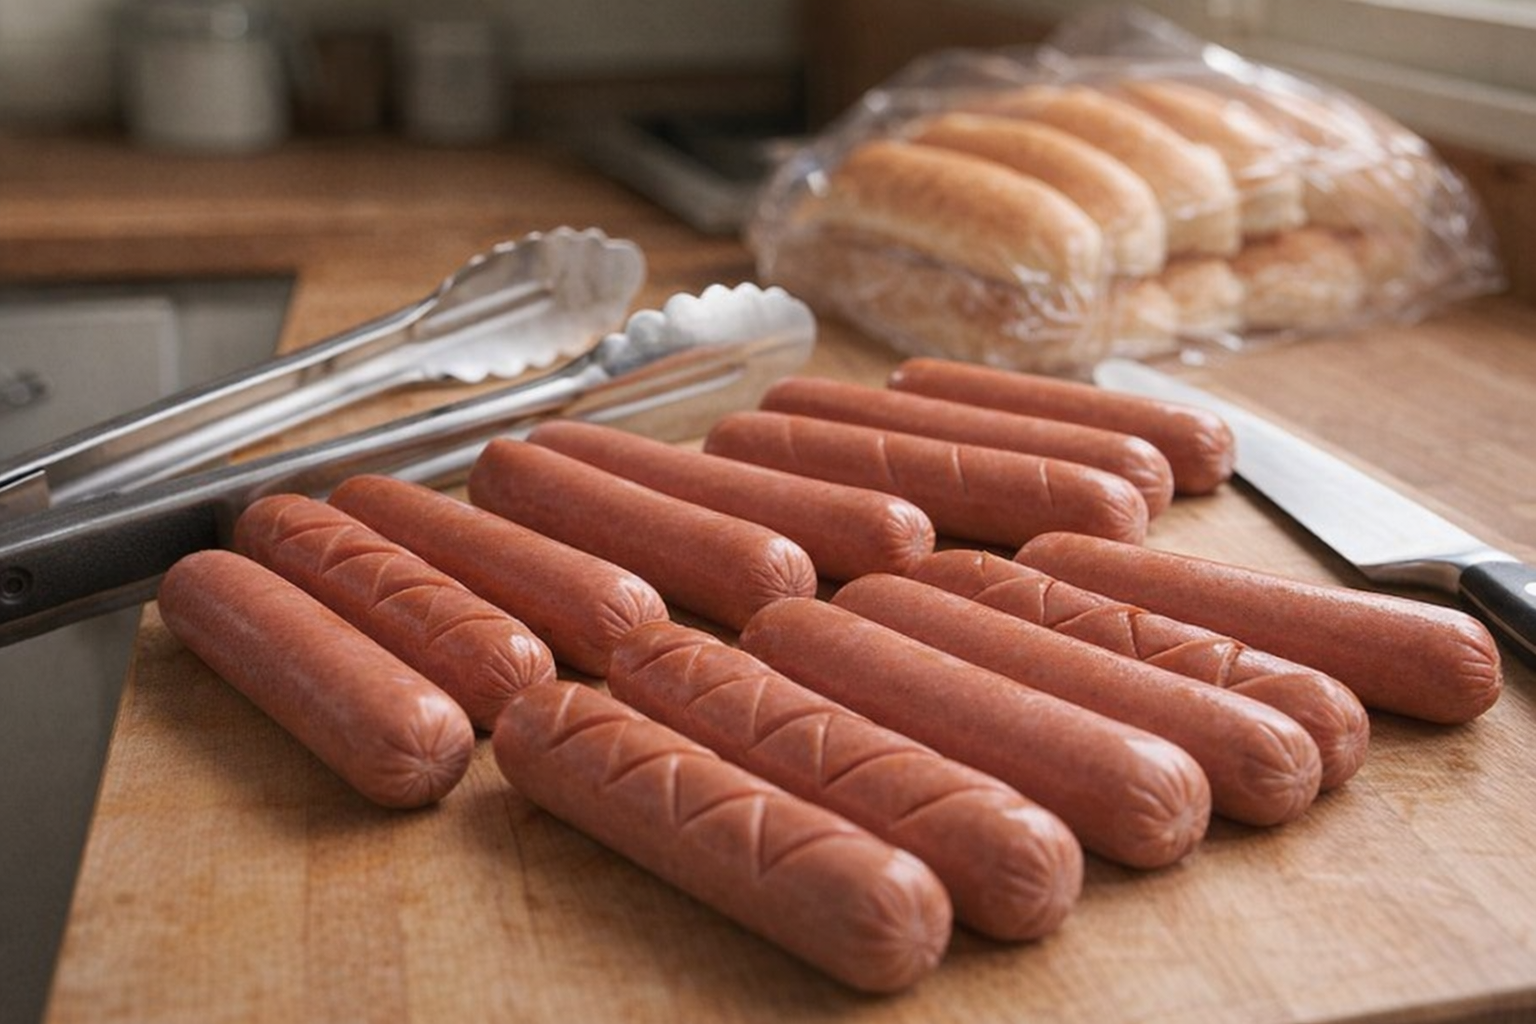
- Optional Scoring: For grilling or pan-frying, consider making shallow diagonal cuts on the surface of the hot dog. This helps prevent the casing from splitting and allows for even cooking.
Essential Tools:
- Large Pot: For boiling hot dogs. A stainless steel or enamel pot is ideal for even heat distribution.
- Grill or Grill Pan: For achieving that smoky, charred flavor. A gas or charcoal grill works best, but a grill pan can be used on the stovetop.
- Skillet: For pan-frying. A non-stick skillet ensures the hot dogs don't stick and brown evenly.
- Tongs: Essential for safely handling hot dogs during cooking, especially on the grill or in a hot pan.
The Cooking Methods
Now, let's explore the different methods for cooking hot dogs to perfection. Each method offers a unique flavor and texture profile, so experiment to discover your favorite.
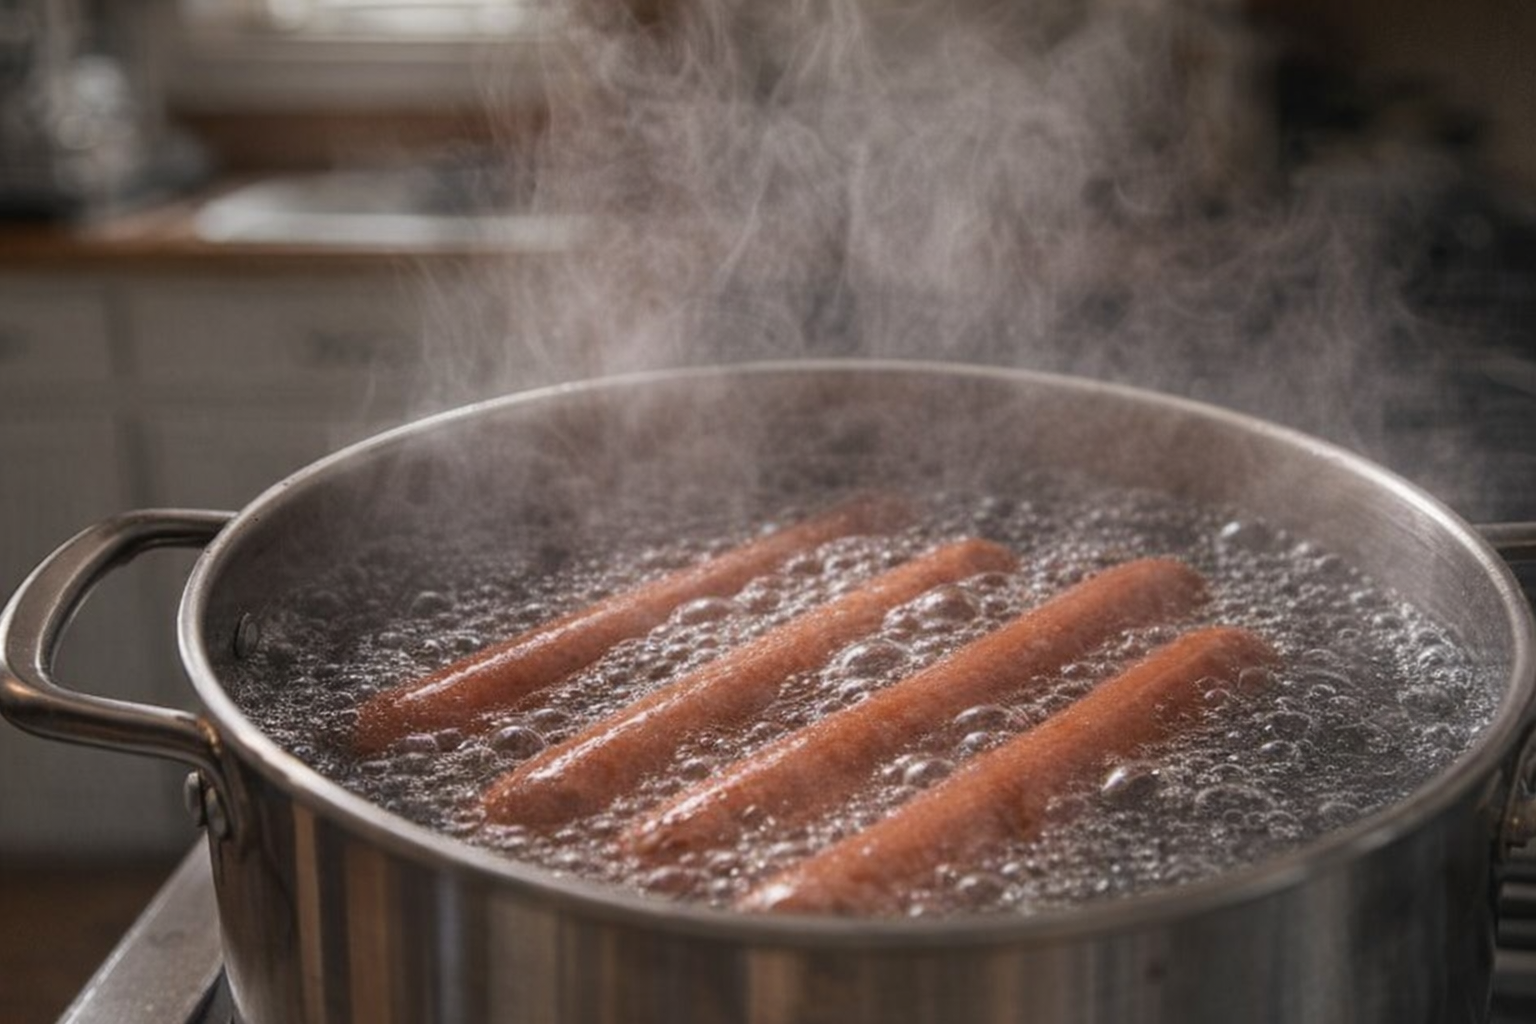
Method 1: Boiling
Boiling is a classic method for cooking hot dogs, resulting in a plump and juicy dog. It's a great option for feeding a crowd or when you prefer a softer texture.
Ingredients:
- Water: 4-6 cups (depending on the number of hot dogs)
- Hot Dogs: As many as desired
Instructions:
- Fill the Pot: Fill a large pot with enough water to fully submerge the hot dogs.
- Bring to a Boil: Place the pot on the stove and bring the water to a rolling boil over high heat.
- Add Hot Dogs: Carefully add the hot dogs to the pot, using tongs or a slotted spoon to avoid splashing.
- Simmer: Reduce the heat to medium and allow the hot dogs to simmer for 5-7 minutes. You'll notice them plumping up slightly as they cook. The aroma of the simmering hot dogs will fill the kitchen.
- Remove and Serve: Remove the hot dogs from the pot with tongs and place them in buns with your desired toppings.
Method 2: Grilling
Grilling imparts a smoky flavor and signature char marks to hot dogs, making it a favorite for barbecues and summer gatherings.
Ingredients:
- Hot Dogs: As many as desired
Instructions:
- Preheat Grill: Preheat your grill to medium heat. For gas grills, set the burners to medium, and for charcoal grills, let the coals burn down until they’re covered with white ash.
- Clean and Oil Grates: Clean the grill grates thoroughly with a grill brush. Then, lightly oil the grates using a paper towel soaked in vegetable oil to prevent sticking.
- Grill Hot Dogs: Arrange the hot dogs on the grill grates, positioning them perpendicular to the bars.
- Cook and Turn: Cook the hot dogs for about 5-7 minutes, turning them occasionally to ensure even cooking on all sides. The sound of sizzling and the smell of grilling meat will indicate they're cooking perfectly.
- Remove and Serve: Once the hot dogs are grilled to a golden-brown color with some slight charring, remove them from the grill with tongs and serve immediately.
Method 3: Pan-Frying
Pan-frying offers a quick and convenient way to cook hot dogs on the stovetop, resulting in a crispy exterior and juicy interior.
Ingredients:
- Hot Dogs: As many as desired
- Oil or Butter: 1-2 tablespoons
Instructions:
- Preheat Skillet: Preheat a non-stick skillet over medium heat.
- Add Oil or Butter: Add oil or butter to the skillet and let it melt.
- Cook Hot Dogs: Place the hot dogs in the skillet and cook for 5-7 minutes, turning them occasionally to ensure even browning on all sides. The sizzling sound and browning color will signal they are nearly done.
- Remove and Serve: Once the hot dogs are browned and heated through, remove them from the skillet and serve immediately.
Method 4: Microwaving
Microwaving is the quickest and easiest method for cooking hot dogs, perfect for a speedy snack or meal.
Ingredients:
- Hot Dogs: As many as desired
Instructions:
- Prepare Hot Dogs: Remove the hot dogs from their packaging and poke a few small holes in each with a fork or knife to prevent bursting.
- Cover and Microwave: Place the hot dogs on a microwave-safe plate and cover them with a paper towel.
- Microwave: Microwave on high for 30-45 seconds for one hot dog, or adjust the time based on the number of hot dogs.
- Check and Serve: Check the hot dogs to ensure they are heated through. If needed, microwave in 10-15 second intervals until fully cooked. Let them rest for a few seconds before serving.
Method 5: Air-Frying
Air-frying cooks hot dogs with a crispy exterior and juicy interior in a fraction of the time. You will need an air-fryer for this method.
Ingredients:
- Hot Dogs: As many as desired
Instructions:
- Preheat Air Fryer: Preheat your air fryer to 390°F (200°C).
- Place Hot Dogs: Place the hot dogs in the air fryer basket, ensuring they are spaced out for even cooking.
- Air Fry: Cook for 3-5 minutes, depending on your desired level of crispiness.
- Remove and Serve: Remove the hot dogs from the air fryer and serve immediately.
Method 6: Oven-Roasting
Oven-roasting allows you to cook a large batch of hot dogs simultaneously, making it a convenient option for parties or gatherings.
Ingredients:
- Hot Dogs: As many as desired
Instructions:
- Preheat Oven: Preheat your oven to 400°F (200°C).
- Prepare Baking Sheet: Line a rimmed baking sheet with aluminum foil.
- Arrange Hot Dogs: Arrange the hot dogs in a single layer on the baking sheet, leaving a little space between each.
- Roast: Bake for 10-15 minutes, keeping an eye on them to prevent overcooking.
- Remove and Serve: Remove the hot dogs from the oven and serve immediately.
Cooking Time & Doneness Guide
- Boiling: 5-7 minutes, until plump. Internal temperature should reach 165°F (74°C). Visual cue: Hot dogs will appear slightly larger and firmer.
- Grilling: 5-7 minutes, turning occasionally, until golden brown with char marks. Internal temperature should reach 165°F (74°C). Visual cue: Slight grill marks and a firm texture.
- Pan-Frying: 5-7 minutes, turning occasionally, until browned and crispy. Internal temperature should reach 165°F (74°C). Visual cue: Evenly browned and slightly wrinkled casing.
- Microwaving: 30-45 seconds per hot dog, until heated through. Internal temperature should reach 165°F (74°C). Visual cue: Puffed up and steaming.
- Air-Frying: 3-5 minutes at 390°F (200°C), until crispy. Internal temperature should reach 165°F (74°C). Visual cue: Crispy and slightly browned.
- Oven-Roasting: 10-15 minutes at 400°F (200°C), until heated through. Internal temperature should reach 165°F (74°C). Visual cue: Slightly wrinkled and plump.
Tips for Perfection
- Don't Overcrowd: Whether boiling, grilling, or pan-frying, avoid overcrowding the cooking surface. This ensures even cooking and browning.
- Use Quality Hot Dogs: The quality of the hot dog significantly impacts the final flavor and texture. Opt for all-beef or premium varieties for the best results.
- Monitor Temperature: Use a meat thermometer to ensure the internal temperature reaches 165°F (74°C) for safety and optimal flavor.
- Toast the Buns: Toasting the buns adds a delightful crunch and prevents them from becoming soggy.
Storage & Reheating
- Storage: Store leftover cooked hot dogs in an airtight container in the refrigerator for up to 3-4 days.
- Reheating: Reheat leftover hot dogs by microwaving, pan-frying, or grilling until heated through. Be careful not to overcook them during reheating.
Serving Suggestions
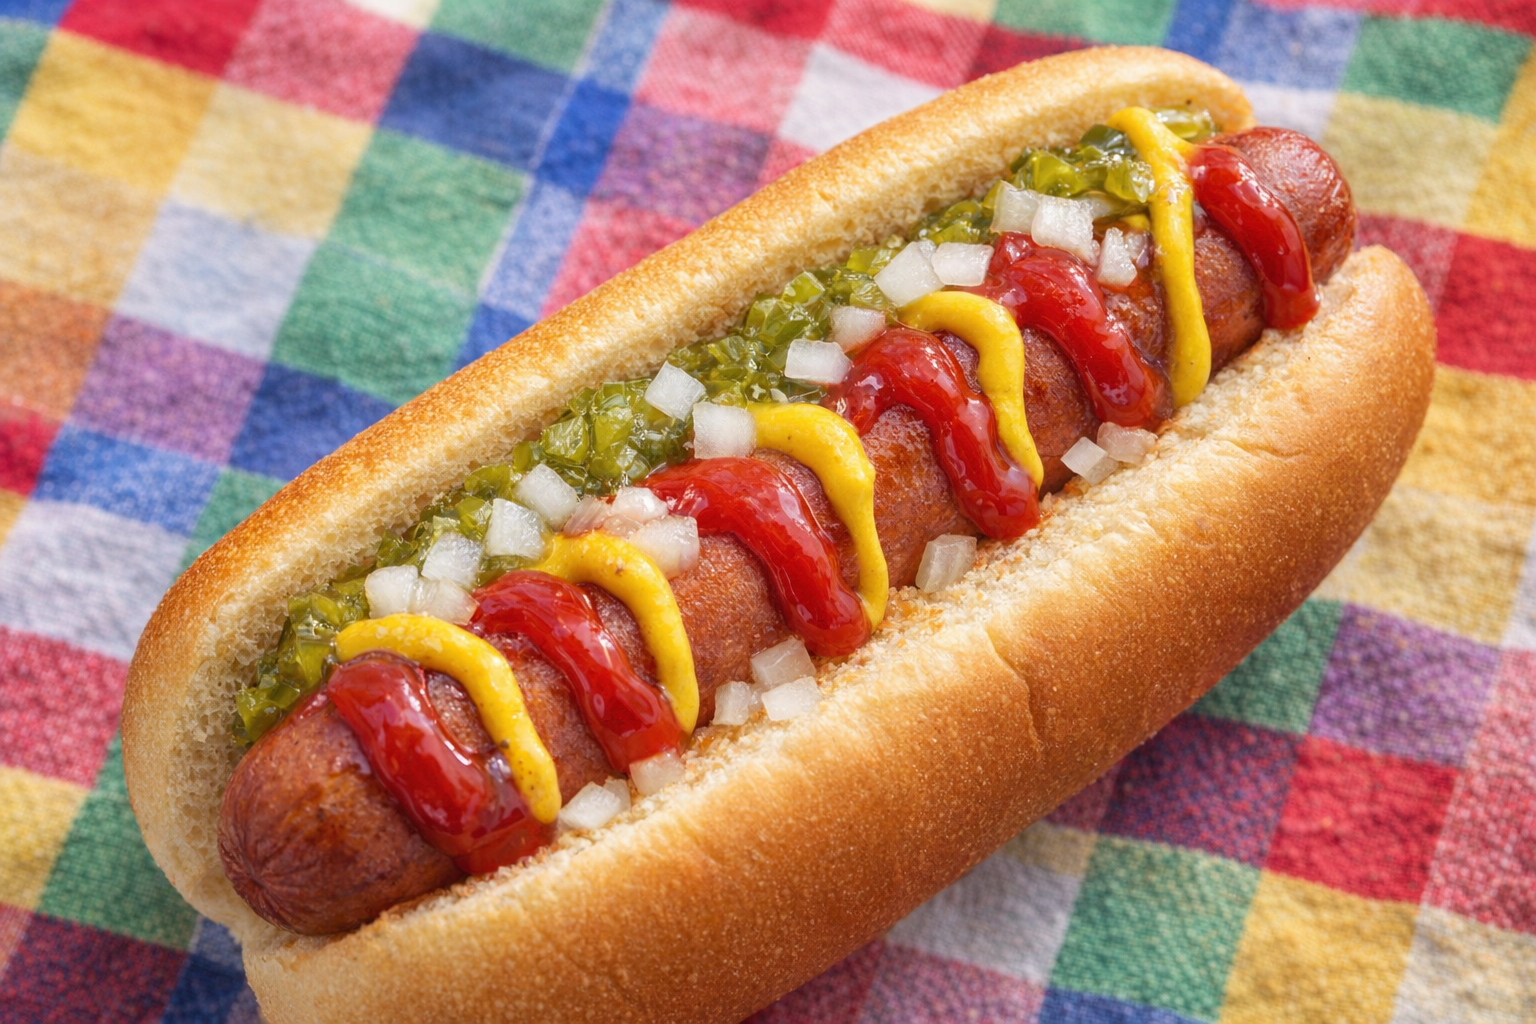
- Classic Hot Dog: Serve hot dogs in buns with mustard, ketchup, relish, and chopped onions.
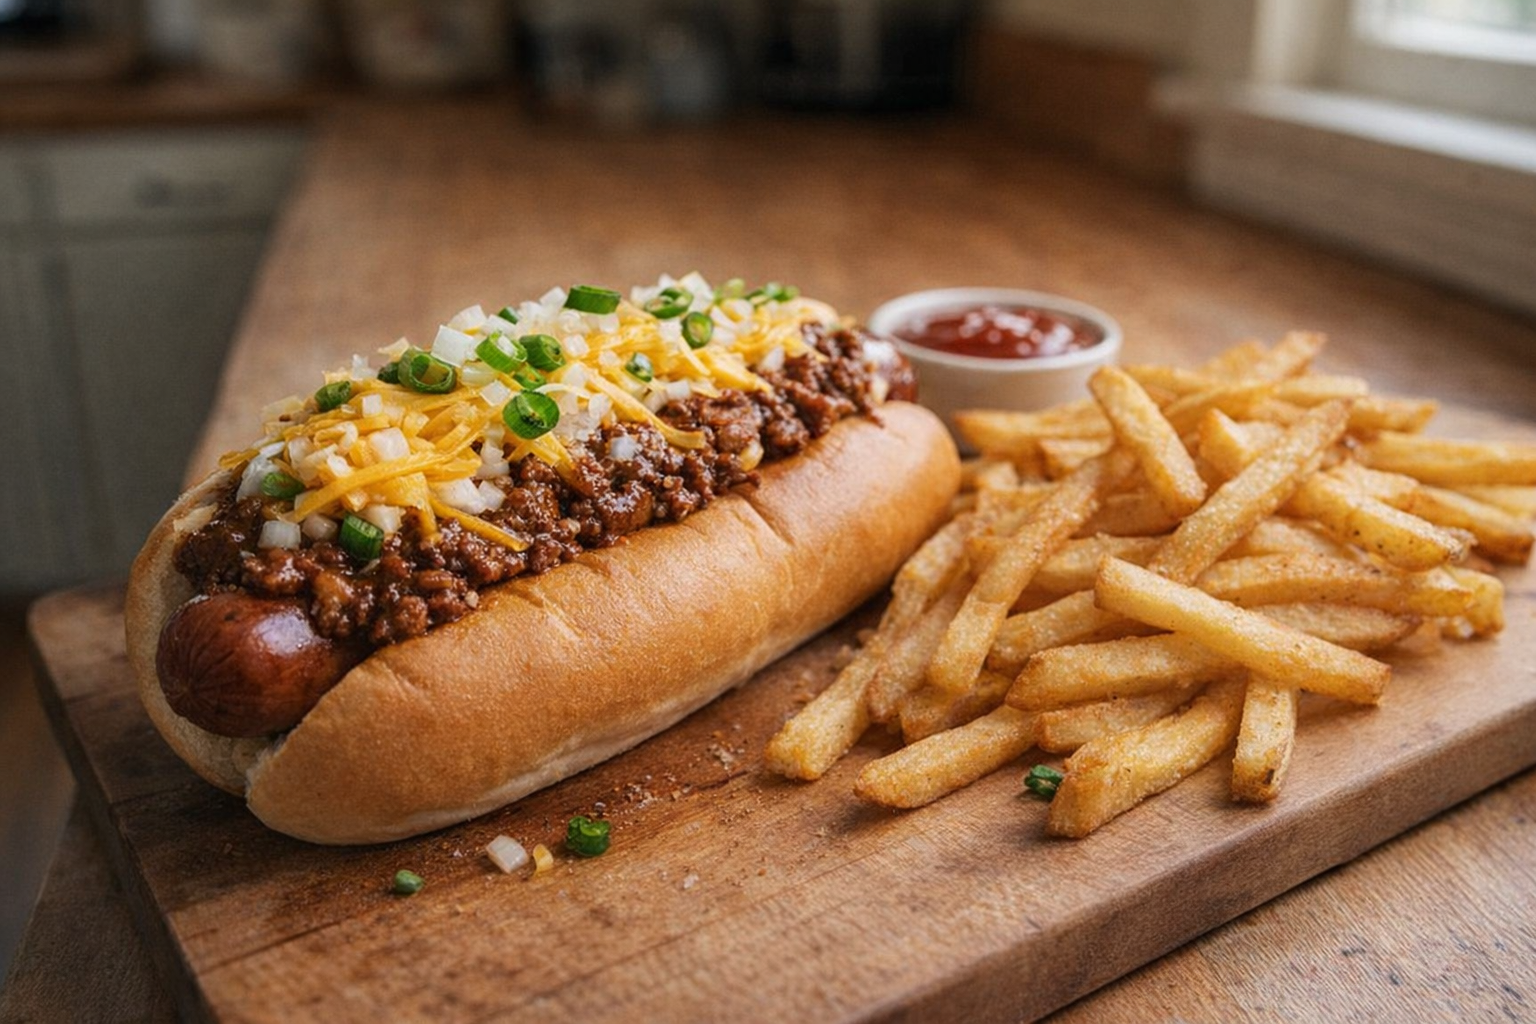
- Chili Cheese Dog: Top hot dogs with chili, shredded cheese, and diced onions.
- Chicago-Style Dog: Top hot dogs with yellow mustard, chopped white onions, bright green sweet pickle relish, a dill pickle spear, tomato slices or wedges, pickled sport peppers and a dash of celery salt.
- Gourmet Dog: Get creative with toppings like gourmet cheeses, caramelized onions, sautéed peppers, or specialty sauces.
💡 Pro Tips
- For a snappy texture when grilling, use medium heat and rotate the hot dogs frequently to ensure even charring without burning the skin.
- If boiling, bring the water to a boil first but then reduce to a simmer before adding the hot dogs to prevent the casings from splitting.
- Score the surface of the hot dogs with shallow diagonal cuts before pan-frying to increase surface area for browning and prevent curling.
- Always toast your buns in a pan with a small amount of butter to provide a sturdy, flavorful base that won't become soggy from condiments.
- When using an air fryer, cook the hot dogs at 400°F for five minutes to achieve a roasted flavor and a firm, juicy bite.
Frequently Asked Questions
The article recommends scoring the hot dogs with shallow diagonal cuts before cooking. This allows steam to escape, preventing the casing from bursting open during the cooking process, and resulting in a more evenly cooked hot dog.
Yes, if you need to thaw hot dogs quickly, place them in a sealed bag in a bowl of cold water. Be sure to change the water every 30 minutes to maintain a consistent temperature and speed up the thawing process.
Natural casing hot dogs have a characteristic 'snap' when you bite into them, while skinless options have a softer texture. The cooking method isn't significantly affected, but natural casing dogs might benefit from scoring to prevent bursting, especially when grilling.
All-beef hot dogs typically offer a robust, savory flavor, making them a popular choice for those who prefer a stronger taste. Pork and chicken varieties, on the other hand, tend to be milder and may be a good option if you prefer a less intense flavor profile.